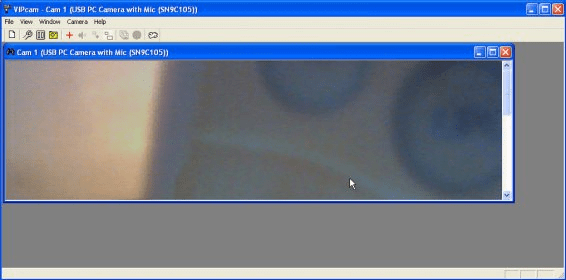
- start the Program and a windows for all installed cameras will be open.
- close not needed cameras if you want;
- change a size and position of the main window;
- use Menu Window/Tile to place all opened Windows tiled if you want;
- press a button "Camera's Properties" to change settings for camera in active window if you want;
- press a button "Show Cross" to start alarm watching for active camera (a camera whose window is in focus)
- you will see a red cross appearing on a moving objects
- press a button "Play beeps on Alarm" to make "beeps" on / off;
- press a button "Play sounds on Alarm" to make "sounds" on / off;
- press a left mouse button and drag a mouse right-down to draw a "Watching Area" rectangle;
- you can later move or change a size of any created "Watching Area" rectangle by you mouse;
- use a right mouse button double click inside an Area to remove it (if you want);
- make a left mouse button double click inside "Watching Area" rectangle to show an "Area Dialog";
- change "Noise is" pointer so that there was no response to motion of tree branches, drip of a rain, solar dazzles etc;
- change "Object motion is" pointer to catch more or less moving objects;
- change "Object size is" pointer to catch smallest or biggest objects;
- press a button "Save Photos on Alarm";
- now at each Alarm (a red cross appearing) the picture (photo) file will be written.
Hints:
- photos are being written as a *.jpg files;
- photos are being written in a directory "DATA" inside the native directory of VIPcam (typically at c:\Program Files\Valeri Vlassov\VIPcam);
- directories for current year, month, day are created automatically, for example:
\DATA\YEAR_2010\MONTH_09_2010\DAY_30_09_2010\
- photo file names are like: "Cam_02__Time_16_46_12.jpg" (for camera 2, snap shot was made at 16:46:12 hh::mm:ss);
- you can set real time copy of alarm photos to your FTP site;
- you can hide the program (make it invisible);

Comments